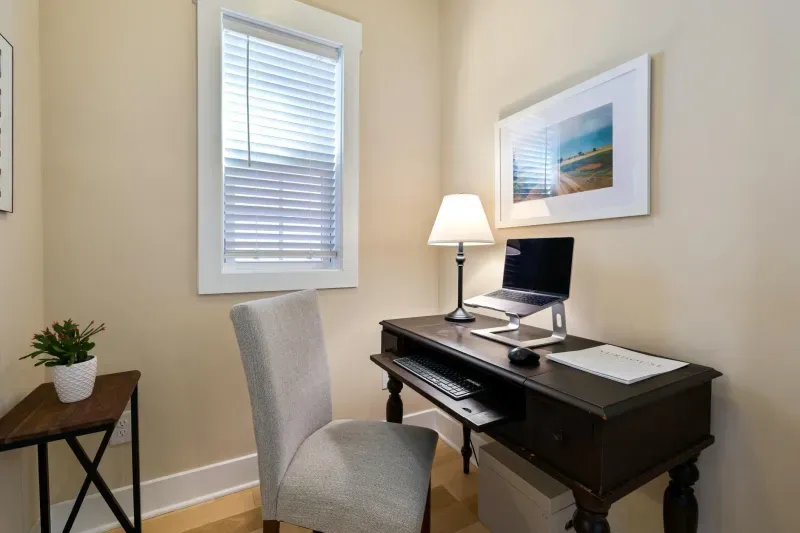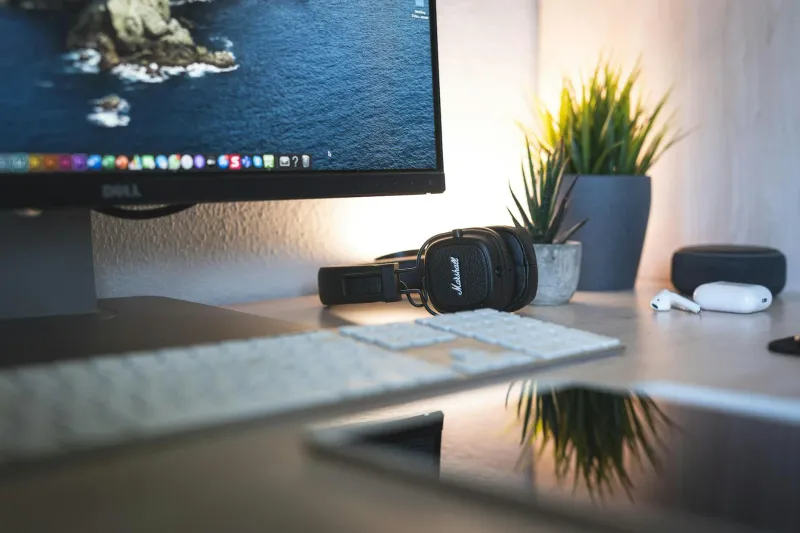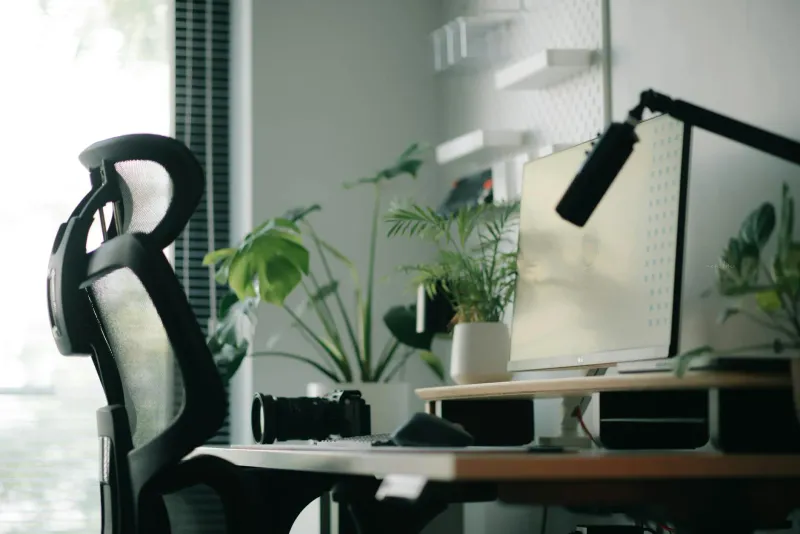
A complete home office needs five things before anything else: a supportive chair, a desk that fits your body and room, a screen at eye level, decent lighting, and a small set of accessories that make long workdays easier. You can build a usable setup from about 300 to 500 in your local currency, while a comfortable long-term setup usually sits closer to 800 to 1,200 if you buy carefully and upgrade over time.
I have worked remotely as a software engineer since 2019, mostly from a small room in Rubi, near Barcelona. My first setup was a laptop on a dining table. It worked for emails and short tasks, but it was a poor workstation for eight-hour days. Neck tension, lower-back discomfort and wrist strain all arrived before I took the setup seriously.
The useful lesson is not that everyone needs expensive gear. It is that a home office is a system. If one part is wrong, another part of your body compensates. A good chair cannot fix a laptop screen that sits 25 cm too low. A wide desk does not help if your shoulders rise every time you type. The goal is to remove the obvious sources of strain, in the right order.
Why your home office is worth planning
A full-time remote worker can spend 1,200 to 1,700 hours a year at the same desk. That is too much time to treat the setup as temporary. The problems usually start quietly: a stiff neck at the end of the day, tired eyes, a lower back that needs a few seconds to straighten when you stand up, a wrist that tingles after long mouse sessions.
Most of those issues are not caused by one dramatic mistake. They come from repeated small mismatches:
- A chair without real lower-back support.
- A desk that is too high for your elbows.
- A laptop screen that makes you look down all day.
- Poor lighting that forces your eyes to work harder than necessary.
- Long blocks of sitting with no movement.
The Spanish occupational safety body INSST and ergonomics resources such as Cornell Ergonomics make the same broad point: the workstation has to fit the person, not the other way around. That matters even more at home, where people often work from furniture designed for meals, storage or decoration rather than sustained computer work.
My own rule is simple: fix the parts that touch your body first. Chair, screen, keyboard, mouse and desk height matter more than shelves, plants, acoustic panels or a nicer webcam.
Step 1: plan the room before buying anything
Before you open Amazon or compare standing desks, measure the room. The most expensive home office mistakes are usually measurement mistakes: a desk that fits on paper but blocks the door, a chair that cannot roll back, a monitor that sits too close because the desk is shallow, or a cable route that makes cleaning the desk annoying.
Use these minimums as a starting point:
- Desk width: 120 cm for one monitor and a laptop, 140 cm or more for two screens.
- Desk depth: 60 cm minimum. Less than that pushes the screen too close.
- Chair clearance: about 80 cm from the desk edge to the wall or furniture behind you.
- Total usable space: 4 to 6 square metres can work if the layout is efficient.
Natural light helps, but only if it comes from the side. A window directly behind the screen creates glare. A window behind you can make video calls look blown out and can reflect on the monitor. Side light, ideally with a blind or curtain, is the most flexible option.
If your space is tight, do not start with a huge desk. A compact 120 x 60 cm desk, a monitor arm, and vertical storage often beat a large table that eats the whole room. I cover that problem in more detail in the small apartment home office guide.
A pre-buying checklist
Before buying anything large, answer these questions:
- Where will the chair move when you stand up?
- Can the door still open with the chair pulled back?
- Is there a power socket near the desk, or will you need a cable route?
- Will sunlight hit the screen in the morning or afternoon?
- Can you place the main monitor directly in front of you?
- Is there enough wall or floor space for storage, or will everything land on the desk?
This sounds basic, but it prevents the classic home office mistake: buying the ideal component for the wrong room. A 160 cm desk is excellent in a wide room and annoying in a narrow one. A deep chair is comfortable until it blocks the wardrobe. A monitor arm is useful unless the desk edge is too thick or has a metal frame where the clamp needs to go.
When I help someone think through a setup, I usually ask for two photos before recommending anything: one from the doorway and one from the side of the desk. The side photo shows posture. The doorway photo shows whether the room can actually support the plan.
Step 2: choose the desk as the base
A good desk needs three things: stability, enough surface area, and the right height. The common 72 to 75 cm desk height works for many people, but not for everyone. If you are short, it may force you to raise the chair and use a footrest. If you are tall, it may push you into a rounded posture.
There are three practical desk types:
| Desk type | Best for | Typical budget |
|---|---|---|
| Fixed desk | Tight budgets, simple setups, stable furniture | 60 to 200 |
| Electric standing desk | Precise height adjustment and position changes | 250 to 600 |
| Corner desk | Small rooms where a corner is the only usable space | 100 to 350 |
An electric standing desk is useful, but not because standing is magic. It helps because it makes height adjustment easy. You can match the desk to your elbows, share it with someone of a different height, and change position during the day. If you are considering one, read the best electric standing desks guide and the more realistic are standing desks worth it? article before buying.
If you already have a fixed desk, do not assume you need to replace it. First check whether your elbows can sit at desk height while your shoulders stay relaxed. The correct desk and chair height guide explains the exact adjustment order.
Step 3: buy the chair before the decorative gear
If I had to put most of a limited budget into one component, I would put it into the chair. It is the part that supports you for most of the day. A poor chair does not always hurt immediately. It often lets you work badly for months until the lower back, hips or shoulders start complaining.
Look for these features before worrying about style:
- Adjustable lumbar support, ideally in height and depth.
- Seat height range that fits your body.
- Armrests that adjust at least in height.
- Seat depth that does not press behind the knees.
- Stable base and smooth movement.
- Breathable materials if your room gets warm.
Not every chair marketed as ergonomic deserves the label. A fixed bump in the backrest is not the same as useful lumbar support. A gaming chair with a loose cushion may feel comfortable for an hour and still be poor for full workdays.
For buying guidance, start with best ergonomic office chairs for home working. If the budget is tighter, the best office chairs under 200 guide is the more realistic place to start.
Chair sizing matters more than chair marketing
Two people can sit in the same well-reviewed chair and have opposite reactions. Height, leg length, shoulder width and working style all matter.
Check these fit points:
- Your feet can stay supported without lifting the thighs.
- The seat is not pressing into the back of the knees.
- The lumbar support meets your lower back, not your pelvis or mid-back.
- Armrests can sit low enough for relaxed shoulders.
- The backrest lets you recline slightly without losing keyboard reach.
If you are under about 165 cm, pay close attention to minimum seat height. If you are over about 185 cm, check seat depth, backrest height and whether the chair is rated for your body size. The best chair on a list is only the best chair if it fits.
Step 4: fix screen height, keyboard and mouse
After the chair, screen height is usually the highest-impact change. Working all day from a laptop on the desk forces your neck down. The fix does not have to be expensive: a laptop stand plus external keyboard and mouse can change the posture immediately.
For a dedicated monitor, a sensible baseline is:
- Size: 24 inches minimum, 27 inches for most desk setups.
- Resolution: QHD for 27 inches if possible, 4K if you read text all day and the budget allows it.
- Panel: IPS is a safe choice for office work.
- Adjustability: height adjustment matters more than flashy specs.
- USB-C: useful if your laptop supports display, charging and data through one cable.
The monitor should sit about an arm’s length away, usually 50 to 70 cm. The top third of the screen should be close to eye level. If the stand cannot go high enough, a monitor arm or riser is a cheap fix. See best monitors for working from home and best monitor arms for the buying side.
Keyboard and mouse matter because they control shoulder and wrist position. Keep both close enough that your elbows stay near your body. Avoid raising the rear feet of the keyboard if it bends your wrists upward. If you write all day or already feel wrist strain, compare the best ergonomic keyboards and best vertical ergonomic mice.
Step 5: lighting, temperature, noise and cables
Lighting is easy to underestimate because the damage feels vague. You do not always think “my desk is badly lit”. You just feel tired, lean closer to the screen, squint, or finish the afternoon with a headache.
Start with three checks:
- Is there glare on the screen?
- Is the room much darker than the display?
- Do you lean forward to read in the afternoon?
A simple LED task lamp can help. Neutral light around 4,000 to 5,000 K works well for focused work, while warmer light is more comfortable late in the day. If you use a monitor light bar, make sure it lights the desk without reflecting on the screen. The full setup is covered in how to improve workspace lighting and best LED desk lamps.
Temperature and noise matter too. A cold room makes your muscles tense without you noticing. A hot room destroys concentration and makes breathable chair materials more important. For summer, the working from home in hot weather guide explains the order of interventions before you spend money. If noise is the issue, read how to soundproof a home office without renovation.
Cable management is not just cosmetic. Loose cables catch on the chair, make cleaning harder and create low-level friction every time you move equipment. A cable tray, velcro ties and a simple route from desk to wall solve most of the problem. The desk cable management guide covers the practical version without turning the desk into a showroom.
What I would not buy early
Some upgrades are useful later but poor first purchases:
- A premium desk mat before chair and screen height are fixed.
- Decorative shelves before there is storage for cables and chargers.
- Acoustic panels before you know whether the real issue is echo, neighbour noise or keyboard noise.
- A luxury webcam before lighting and microphone placement are acceptable.
- A very large monitor before measuring desk depth.
This is where home office content online can be misleading. Beautiful setups often show the final 10%: lighting mood, plants, desk pads, speakers, camera, shelves. The first 90% is less photogenic: getting the screen high enough, the chair low enough, the feet supported and the cables out of the way.
Step 6: build habits into the setup
Good equipment helps, but it does not cancel out eight hours of stillness. The most useful habit I know is a simple 50-10 rhythm: work for about 50 minutes, then move for a few minutes. Walk, refill water, stretch the shoulders, look out of the window, or stand for the next call.
For eyes, use the 20-20-20 habit: every 20 minutes, look at something about 20 feet away, roughly 6 metres, for 20 seconds. It sounds too simple, but it forces the eyes to change focus and helps reduce screen fatigue.
Use this seated posture as the reference, not as a rigid pose to hold all day:
- Feet supported by the floor or a footrest.
- Knees around 90 to 110 degrees.
- Lower back touching the backrest.
- Shoulders relaxed.
- Elbows close to the body.
- Wrists neutral.
- Screen raised to eye level.
For the full adjustment sequence, use how to set up an ergonomic home office. If you already have discomfort, go straight to back pain when working from home or neck pain from computer work, depending on the symptom.
A simple daily operating routine
The easiest way to keep the setup useful is to make a short routine automatic:
- Start the day with the chair fully pushed in and the desk clear.
- Check that the main screen is centred before the first deep-work block.
- Keep water away from the keyboard but close enough that standing up is easy.
- Use one planned reset after lunch: stand, walk, open a window, change light level if needed.
- End the day by putting the laptop, cables and notebook back in their place.
This is not about being tidy for its own sake. It reduces friction. If the desk starts the day messy, you waste attention before work begins. If cables are always in the way, you avoid moving the monitor or cleaning the surface. If the chair is badly placed, you sit badly by default.
Mistakes I would avoid now
The first mistake is buying accessories before solving posture. A premium cable organiser or nicer desk mat is satisfying, but it will not fix a chair that leaves your lower back unsupported.
The second mistake is working laptop-only for months. If you work more than four hours a day, separate screen height from keyboard height. Use a monitor, or raise the laptop and add external input devices.
The third mistake is assuming a standing desk solves everything. Standing still for hours is not better than sitting still for hours. The benefit comes from changing position.
The fourth mistake is ignoring the room. Light, heat, noise and cable clutter all affect how long you can stay focused. They are not as visible as the chair, but they shape the workday.
The fifth mistake is copying someone else’s setup without measuring your own body and space. A 160 x 80 cm desk is great if the room can take it. A 34-inch ultrawide is useful if the desk is deep enough. A chair that fits a 180 cm person may be wrong for someone 160 cm tall.
What a complete home office costs
You do not need to spend everything at once. A staged setup is usually smarter because each upgrade teaches you what the next bottleneck is.
| Component | Basic setup | Mid-range setup | Complete setup |
|---|---|---|---|
| Chair | 120 to 180 | 220 to 350 | 400+ |
| Desk | 60 to 150 | 200 to 350 | 450+ |
| Monitor | 90 to 160 | 180 to 280 | 350+ |
| Lighting | 20 to 40 | 50 to 90 | 100+ |
| Accessories | 20 to 50 | 80 to 150 | 200+ |
If the budget is tight, start with this order:
- Chair or chair fix, depending on what you already own.
- Laptop stand or monitor at eye level.
- External keyboard and mouse.
- Lighting.
- Cable management and storage.
- Better desk or standing desk.
The budget home office setup guide gives a more detailed buying path if you want to keep the total under control.
What matters in 2026
Home office gear has improved a lot since the early remote-work boom. Electric standing desks are cheaper. Mid-range ergonomic chairs offer better adjustment. USB-C monitors reduce cable clutter. Monitor light bars are more common. There is also more noise: more products, more recycled claims, more “ergonomic” labels on things that are not meaningfully ergonomic.
The trend I care about most is not a specific product category. It is better prioritisation. A good home office in 2026 is not the most expensive setup or the most photogenic desk. It is the setup that lets you work for a full day without your neck, back, eyes or wrists paying the bill.
If you want the personal version, read my home office setup in 2026. If you want the broader product landscape, the home office trends in 2026 article covers the upgrades that seem genuinely useful rather than decorative.
Internal links and next steps
If you are using this guide to make decisions, take the next step based on the problem you feel most:
- Back discomfort: back pain when working from home.
- Neck tension: neck pain from computer work.
- Unsure about measurements: correct desk and chair height.
- Small room: small apartment home office ideas.
- Tight budget: budget home office setup.
- Product buying order: best ergonomic office chairs and best monitors for working from home.
Do not try to solve everything in one weekend. Fix the biggest source of strain, work with the new setup for a week, then decide the next upgrade. That is slower than a shopping spree, but it gives you a better workstation and fewer regret purchases.